

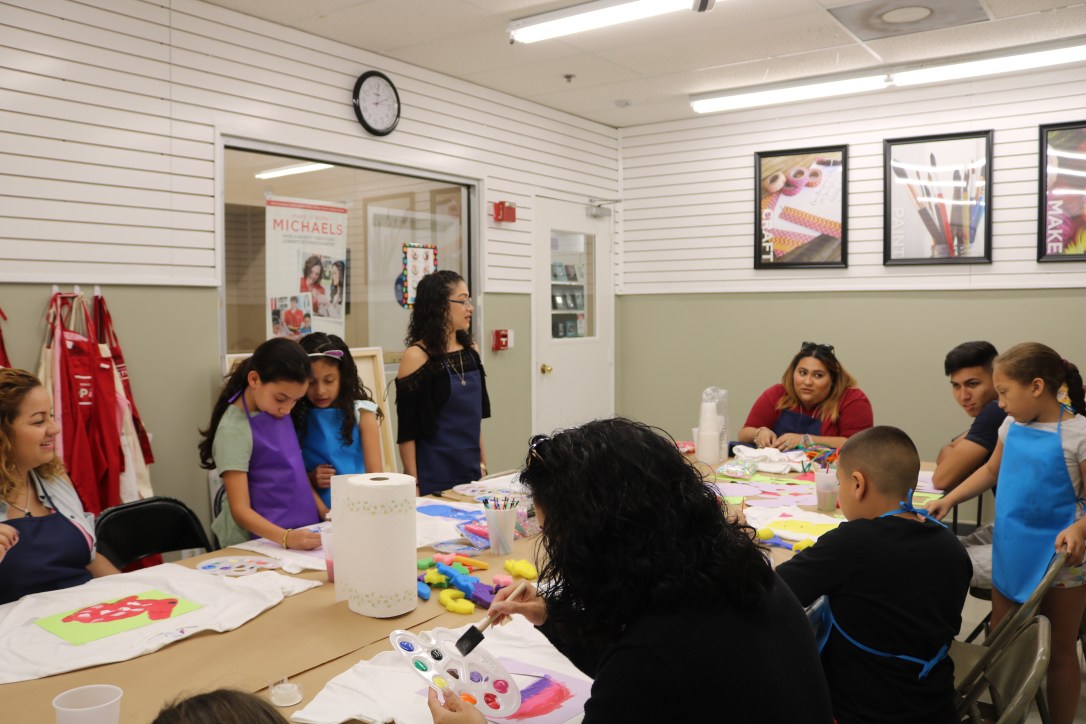
In April I had the pleasure of hosting an Easter DIY Mommy & me class. In this class, the mommies and kiddies painted their own Easter shirts. Everyone had sooo much fun painting. This DIY is such an easy and inexpensive craft that anyone can do at home with their little ones.
Supplies:
•cardstock paper
•scissors
•fabric paint
•sponge brushes
•stencil
•T-shirt
•tape
•printer
•cup of water
•iron
Step 1: Choose a design that you would like to paint onto your shirt and print out the design.
Step 2: Cut our design using scissors to create a stencil for your project. (Parents,please cut out the design if necessary.)
Step 3: Place the stencil onto the shirt and secure using tape.
Step 4: Now your shirt is ready to be painted. Use the cup of water to clean brush when changing colors.
Step 5: Once you have painted your design, remove the tape and stencil before the shirt dries.
Step 6: Let shirt dry. (Please read fabric paint instructions for dry time.)
Step 7: After your shirt has completely dried, turn it inside out and iron the back of the design to seal.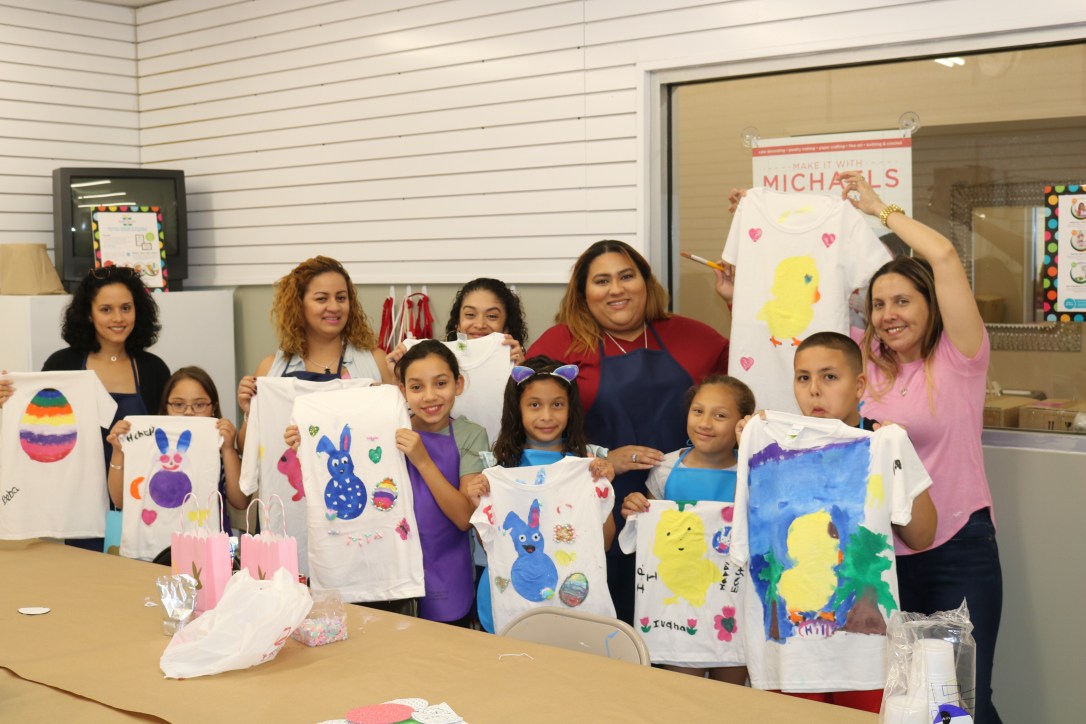


And wala, you’re done!
*Note: If you have a cutting machine, you can cut out a silhouette of what design you would like to paint onto your shirt.
